

Melis Caner
Hi, I’m Melis Caner, a 3D Generalist and filmmaker with a Film degree from Dokuz Eylul University. After graduating with a focus on cinematography, editing, and sound design, I discovered 3D animation during the pandemic that followed. Amazed by its limitless creative possibilities, what began as a hobby quickly became my career and a new form of self-expression. My lifelong love for drawing, dancing, and acting now comes together in 3D animation, blending all my passions into one art form.
Melis Caner’s ArtStation
Concept
Before I started to think about the story I decided to focus on my character. I knew that I wanted to create an ethnic-looking stylistic character, and I wanted to combine her with sharp ritualistic movements. That’s how my Shaman character idea was born. I researched traditional shaman rituals, their attire, sounds, and their connection with nature. Initially, I thought of a ritual to change the color of the firepit, but the purpose wasn’t clear. Onur Erdurak (@blendreams) helped me develop a deeper story about reviving a dead bird, adding meaning to the Shaman’s bond with nature.

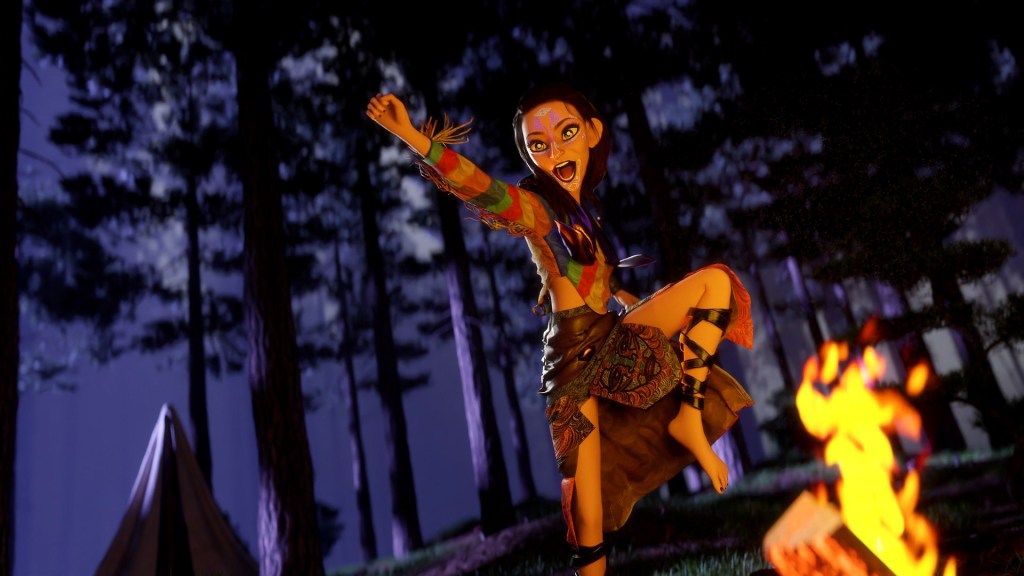
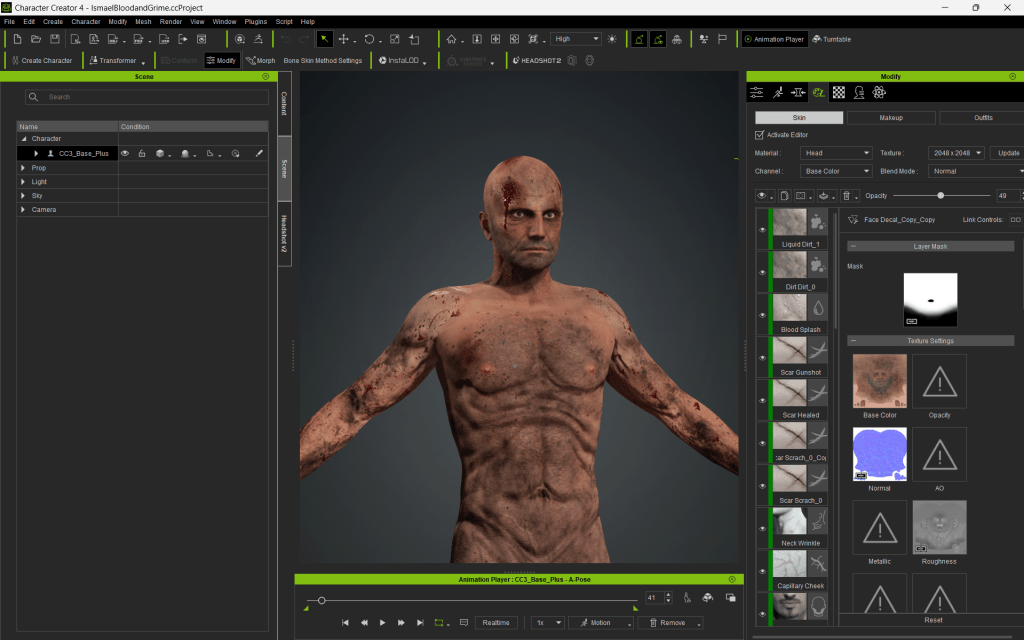
Once I had the concept, I jumped into Character Creator and experimented with the CC Toon base. It was a trial-and-error process where I explored different looks until the character felt right.
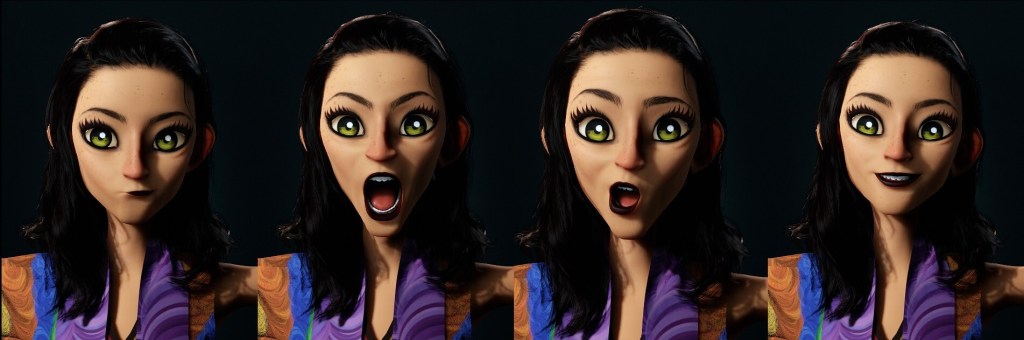
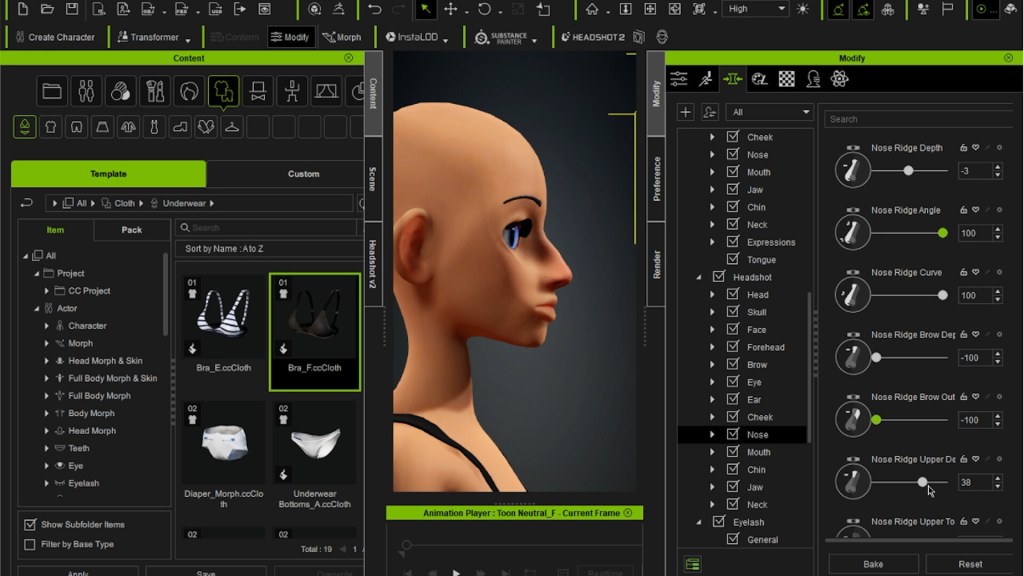
Using Character Creator
This animation was my third time using the CC Toon base. It’s incredibly convenient for creating stylized characters, with a variety of morph sliders that allow for easy customization to match your vision. It’s always fun to play around with the morph sliders to create my character. It doesn’t take a long time to master it, it’s simple, fast, and easy. I suggest adding some of the most used sliders to your favorites, so next time you’d save a lot of time and get even faster.

I designed and simulated the dress using Marvelous Designer. For accessories, I used the arm and leg bands from JoeLoXYungChuang’s Martial Art – Costume B 5 Set, which I found on the Reallusion Marketplace.

Using Marvelous Designer
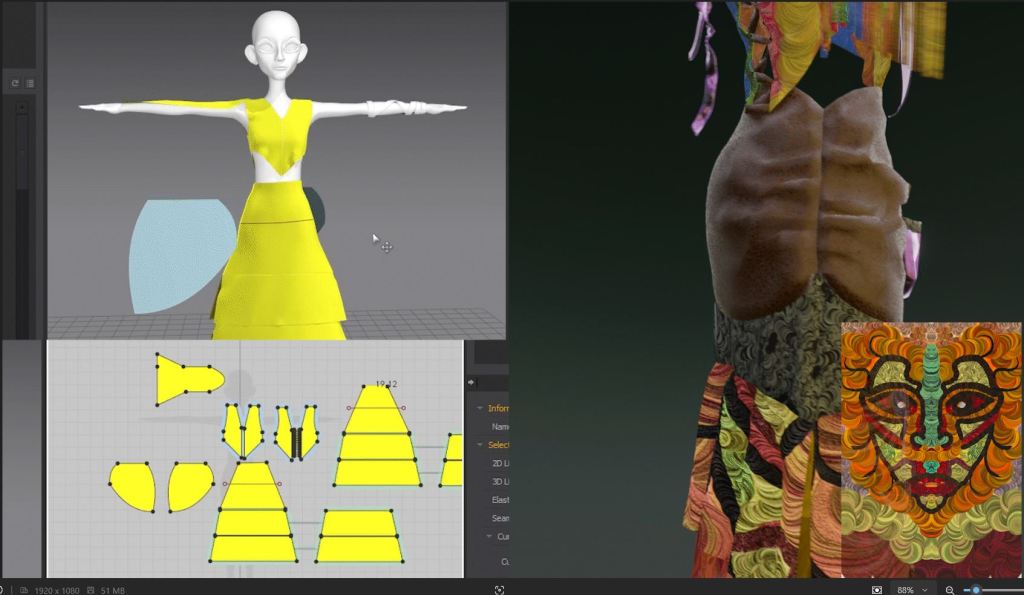
I’ve been using Marvelous Designer for nearly three years. In my entry video, I tried many ways to reflect the Shaman’s persona. Besides her expression and body movement, I also figured out that the flowy garment would also add depth to the story. So I began to pay attention to the details of the garment, making sure that the cutting, textures, and colors were perfect for the character.
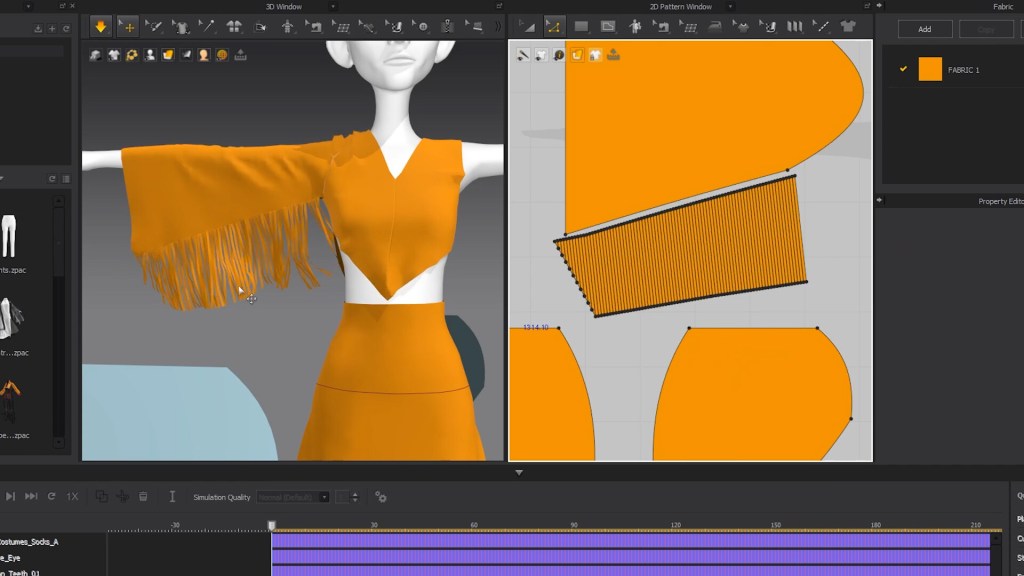
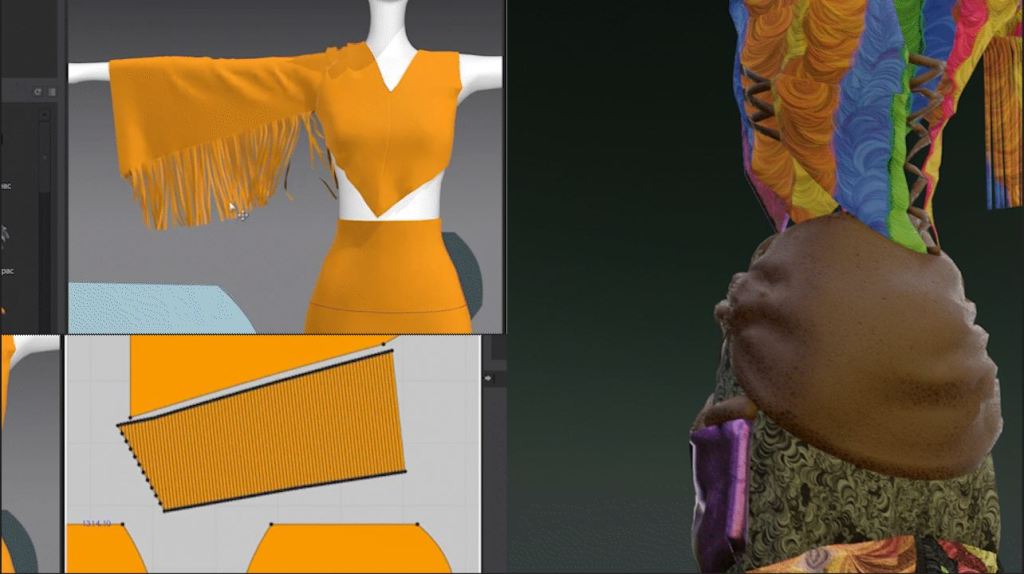
I wanted the costume to look kind of traditional and fitting to the character’s personality. It had to be colorful, flowy and unbalanced. I used my own textures and digital painting to create a unique design. I created my custom brush in ProCreate and used custom digital paintings as textures.
Rokoko Mocap
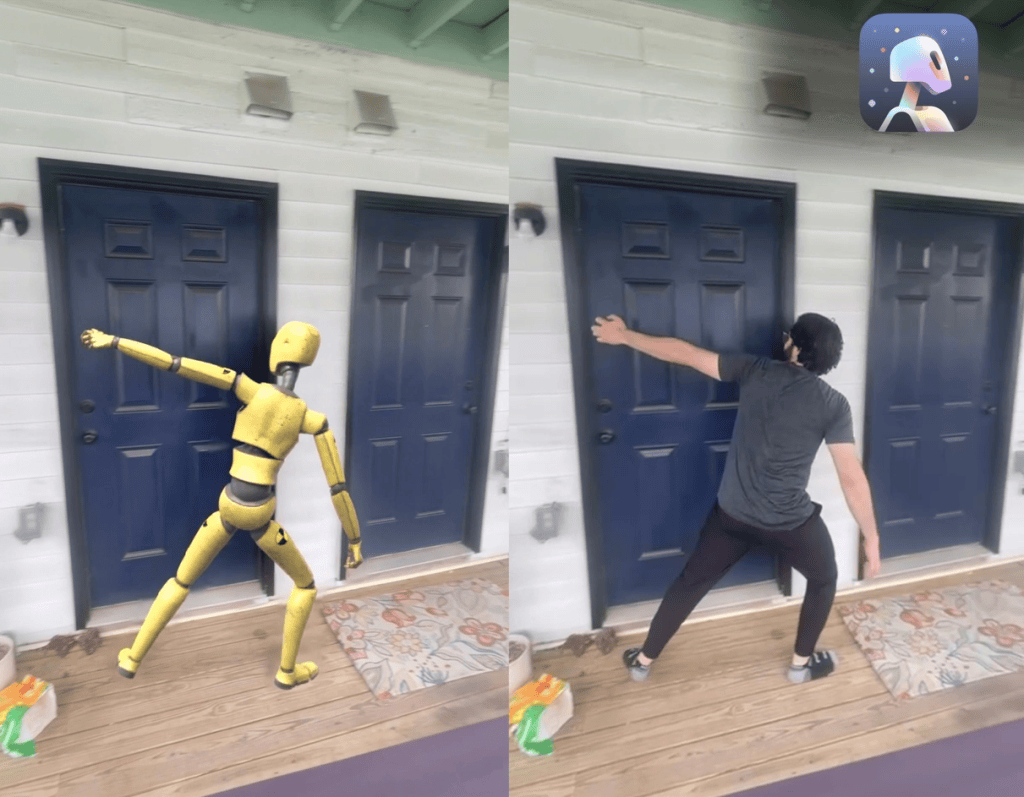
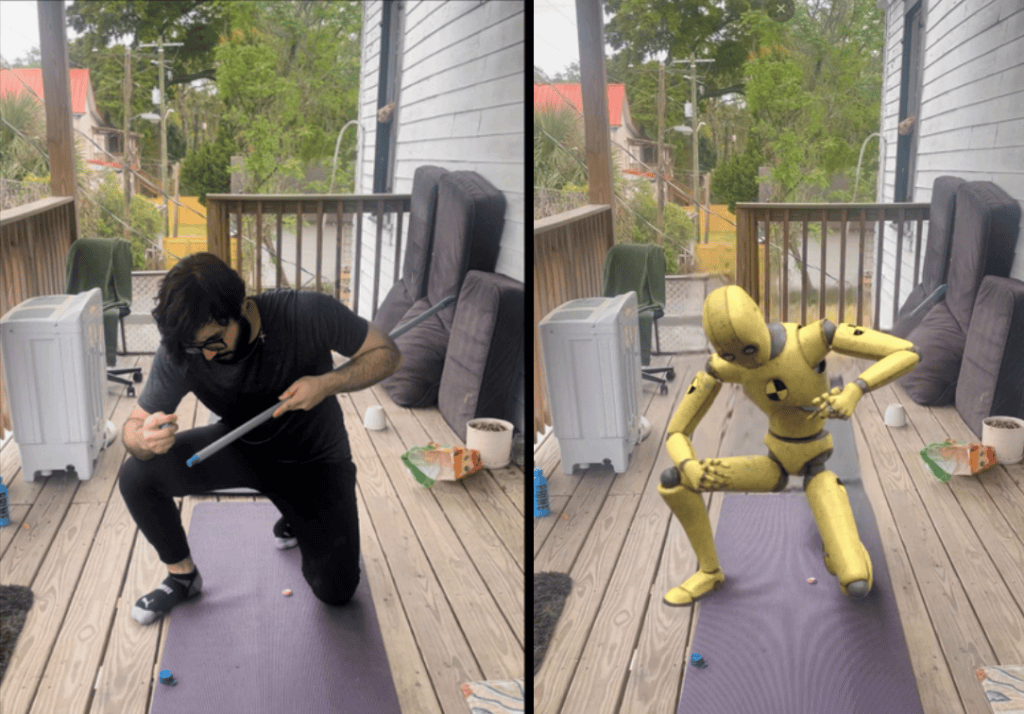
In this entry, I was using the Mocap equipment from Rokoko. I have to say “I love using the Rokoko Smart Suit”! It speeds up the animation process and adds so much freedom. I enjoy dancing and capturing my own movements with a motion capture suit. Using the movements I made adds a little piece of me to the character as well, and I think that makes the animation even more personal.
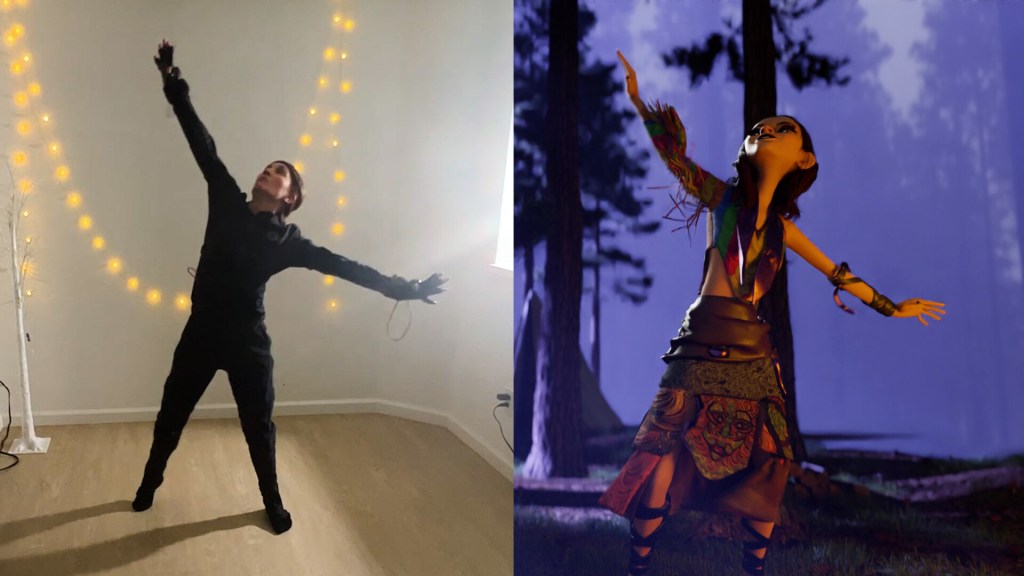
Here are some workflow and tips from my experience. For this animation, I came up with a choreography that she would dance around the fire. I recorded myself without the suit and memorized the choreography. When I felt ready I put on the suit and recorded a few takes and chose my favorite.
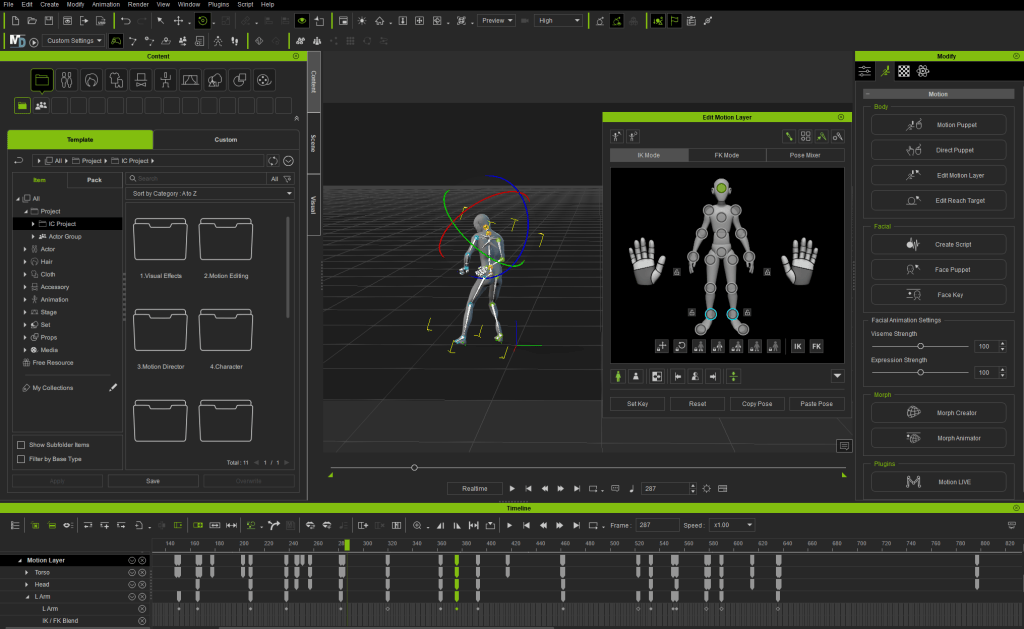
I exported my character from CC to iClone and just dragged and dropped the exported file from Rokoko’s software. It was almost perfect. I just had to adjust the circling around the pit fire. To ensure my character moved correctly around the firepit and reached the bird, I used reference objects in Blender, exported them to iClone, and adjusted the movement.

For me, the connection between story and visuals is everything. A single look can tell a story, and the story can shape how a character looks. Character Creator has been an incredible tool in bringing that balance to life. It gives me the flexibility to experiment and adapt as I go, making the process feel natural and enjoyable — like each design choice is part of the story unfolding.
iClone Animation
I used Marvelous Designer to design and simulate the cloth simulation. Initially, I designed another dress for her but it crashed and then I just got carried away with the final design. I used my own textures and combined them with a fabric normal map. I think that makes it look more realistic.
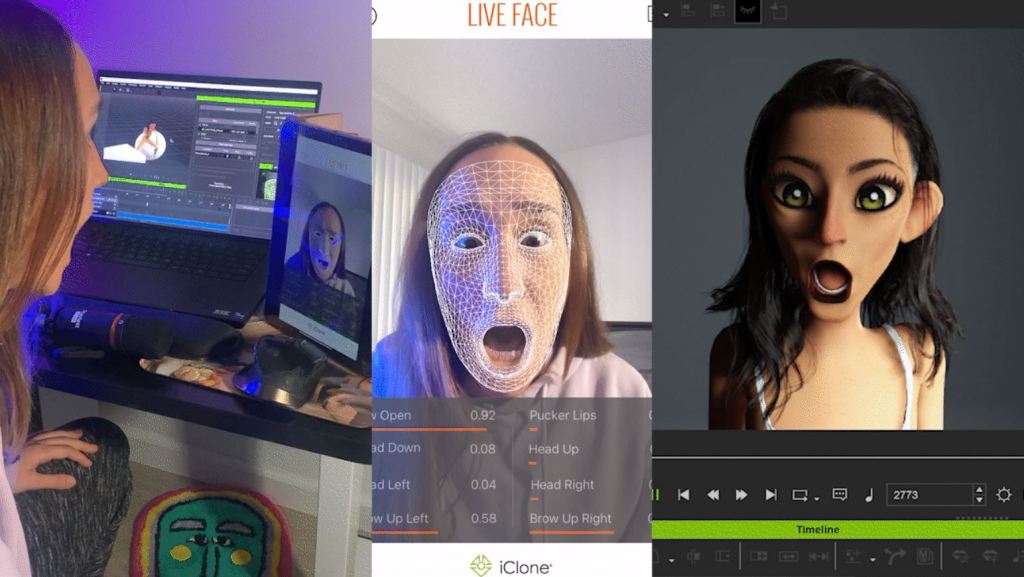
Here are some awesome iClone that I’d recommend: The foot lock feature is a game-changer—one click and the feet stay perfectly grounded! I usually get my character’s shoulders very high with the raw motion capture data. It’s also great for adjusting shoulder positions when cleaning mocap data. I love using iClone Live Face to capture my facial movements and being able to play with expressiveness is a great feature. I can adjust the face however I want, easily.
In my entry, I also took time to arrange the camera. I think that’s where my film studies came in handy. Although I find the close-up a bit extreme in this animation, I found it necessary to reflect the energy of my character. I think even a little movement of the camera adds a lot to the flow of the story.
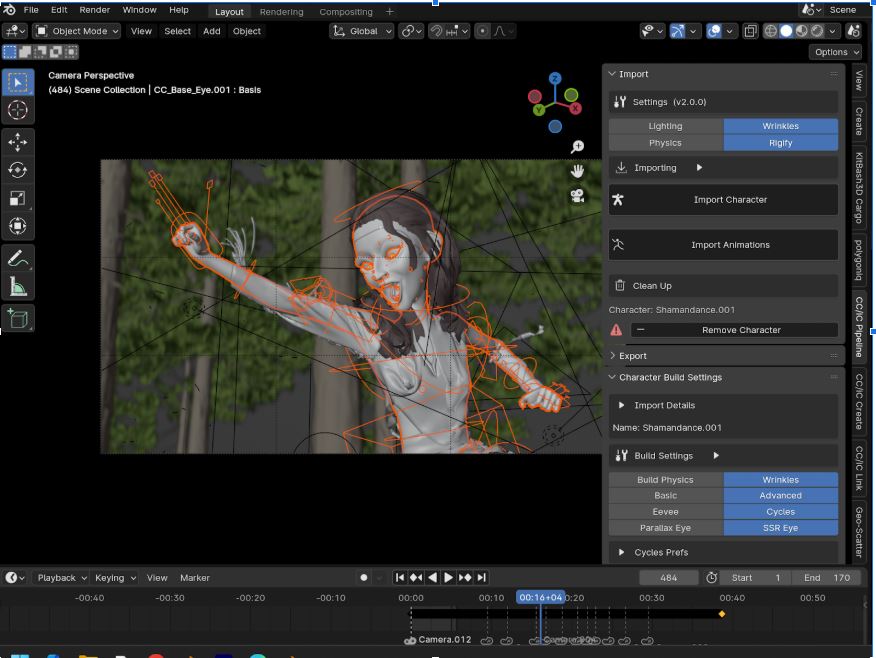
Composition in Blender
To begin with, the Blender AutoSetup plugin makes the whole process easier and very fast. I use it almost for all of my CC characters. CC Pipeline add-on in Blender makes the setup much easier. It allows you to import the character the right way. I usually only drop the Specular a bit. I like the matte look on the character. I change the eye materials to basic and bump up the coat and specular.
Also, I like to play around with the material settings. Usually, I decrease the Specular to make the skin look more matte and play around with eye materials to make them look more realistic. However, in this entry, I didn’t have the chance to use the latest Data Link feature in the contest. But I look forward to exploring data-link in future projects!
Closing Thoughts
Creating “Shaman” was a rewarding journey that blended my love for storytelling with the flexibility of powerful tools like Character Creator, Marvelous Designer, Rokoko Mocap, and iClone. The ability to experiment, adapt, and bring my vision to life was key to achieving a character that felt truly personal.
While I’m not a character artist or sculptor, creating a rigged character with CC4 proved far more efficient than starting from scratch with sculpting software. The combination of motion capture and thoughtful design choices allowed me to convey emotion and depth authentically. This project reinforced the importance of the connection between story and visuals, and I’m excited to continue exploring these tools in future projects.
Related Posts
- Winner Select: Animating Blender Character with AccuRIG
- Winner Select: How Unorthodox Design Steals the Show | Character Creator GoZ & ZBrush Face Tools