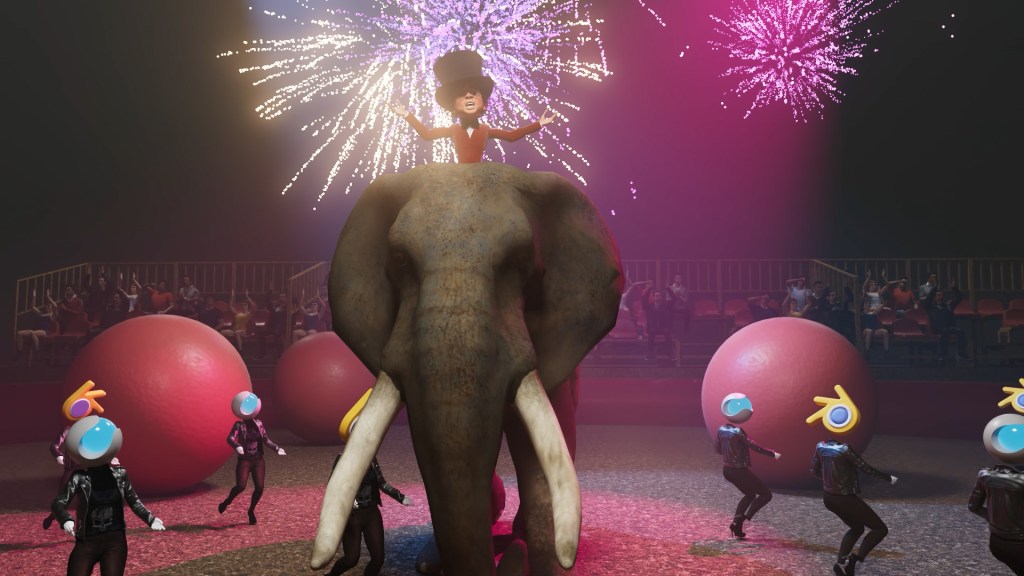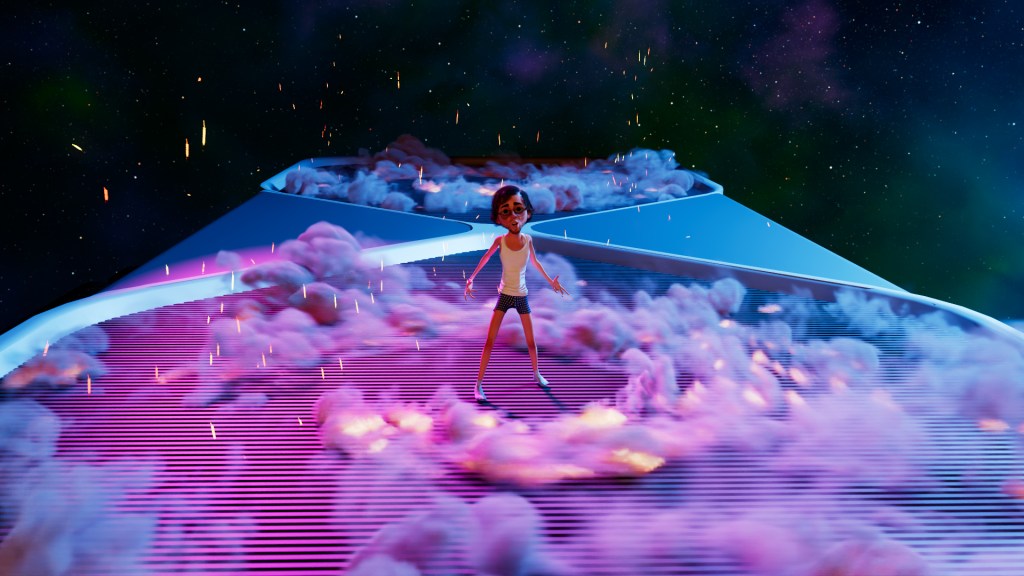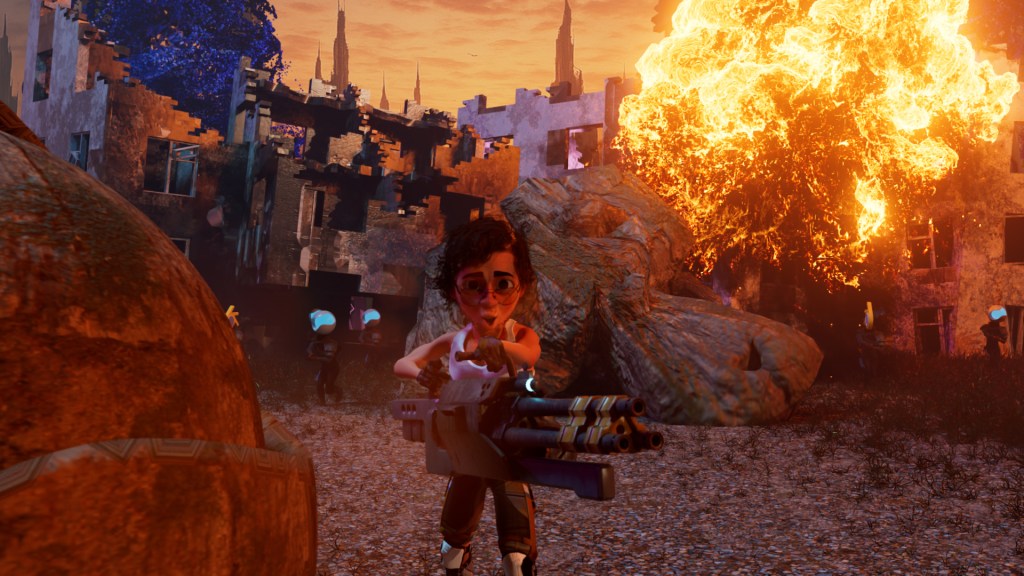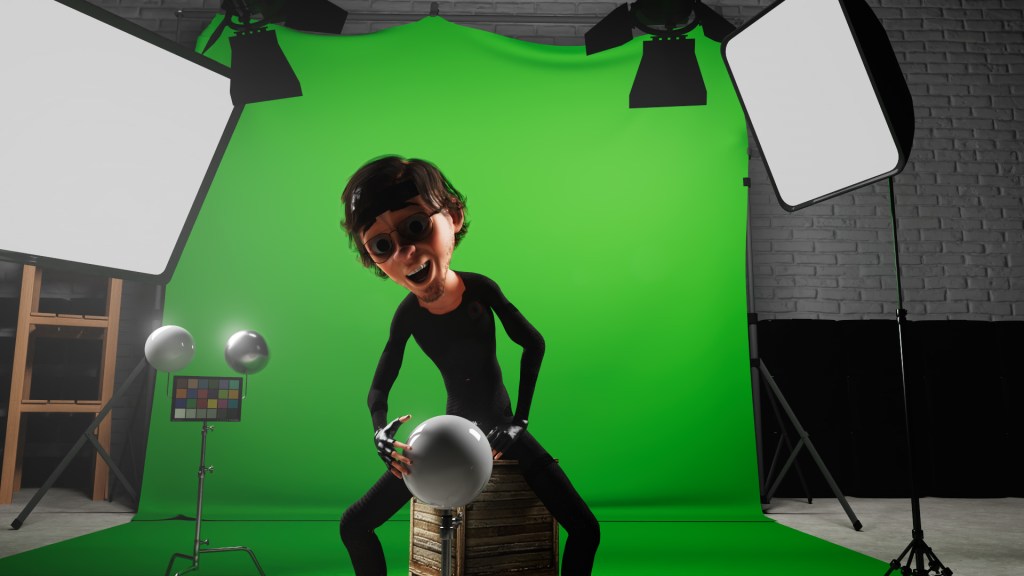
Animation is something we all love—but let’s face it, the time it takes can be daunting. What if you could achieve professional-level results in just a few days? In this article, I’ll break down how I created a polished, high-quality animated short by combining Cartoon Animator 5 (CTA5) with AI tools, using an eight-step workflow that blends the best of automation and human artistry. This is a repeatable pipeline you can apply to client projects, contests, or personal creations.
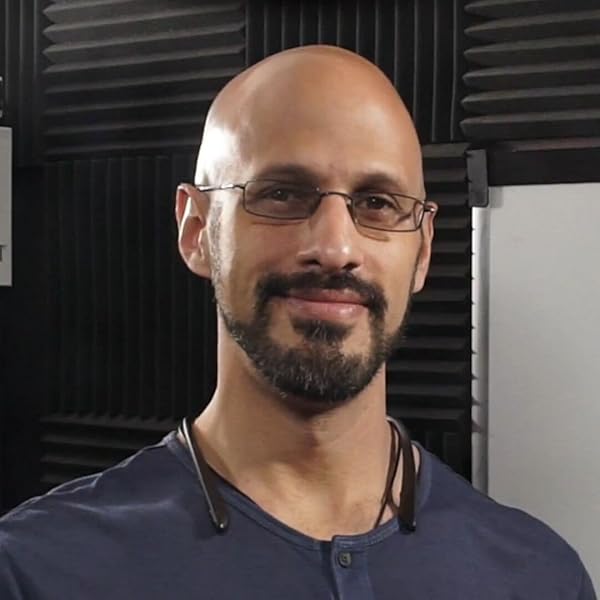
Mark Diaz / 2DAnimation101
Enthusiastic in both animation and teaching, Mark Diaz is the CEO and Founder of 2DAnimation101. He is a passionate online instructor. He helps beginners all over the world to improve in animation and drawing. He has helped more than 52,000 students worldwide.
Mark is a speaker of TED Talks, “Can anyone become a genius.” His versatile talents also made him a Short Film Director and Editor for Autumn Leave Films.
Step 1: The Story Idea
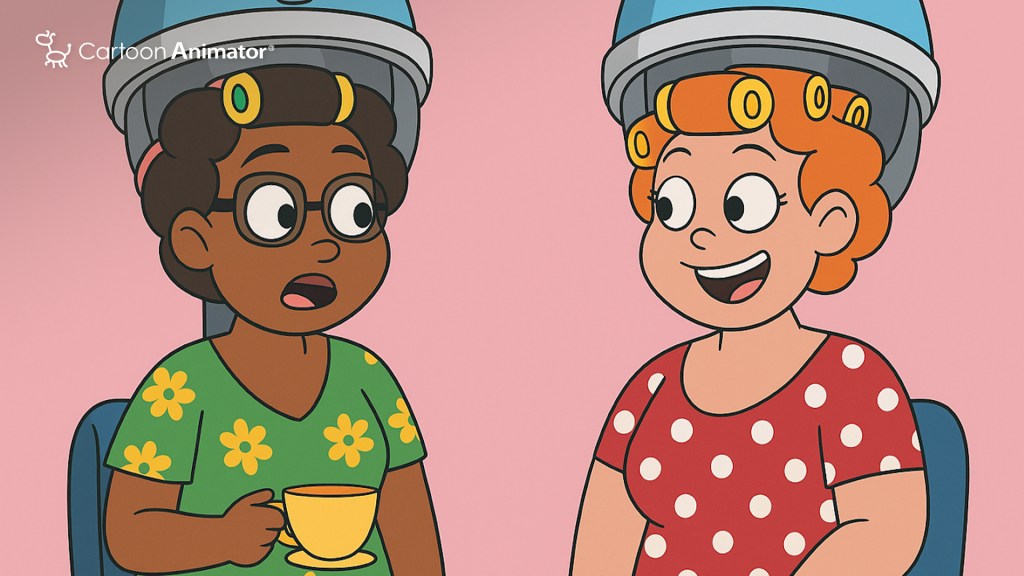
Every great animation begins with a story. Without a clear idea, there’s nothing meaningful to animate. When I started, I had no concept in mind. To spark inspiration, I turned to AI. I used a prompt generator to brainstorm ideas, and from the list of results, one immediately made me laugh: Two women in a hair salon—one claims she found a miracle weight-loss cure. The twist? She disguises herself so that “if the cake can’t recognize her, the calories don’t count.”
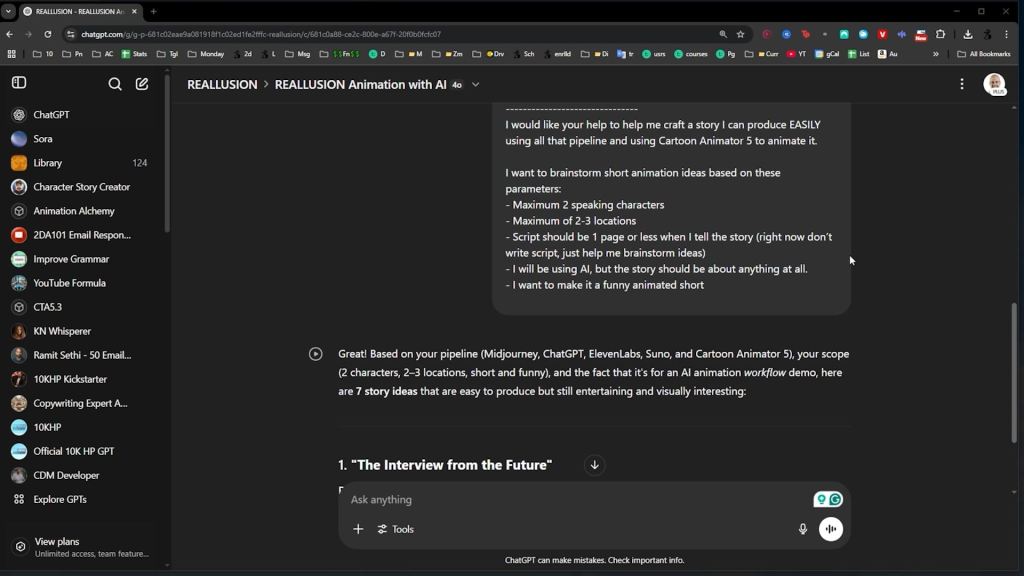
The concept was simple, funny, and, most importantly, feasible to produce within a tight timeline. With that spark of inspiration, I began visualizing the setting and how the characters would interact.
Step 2: The Script
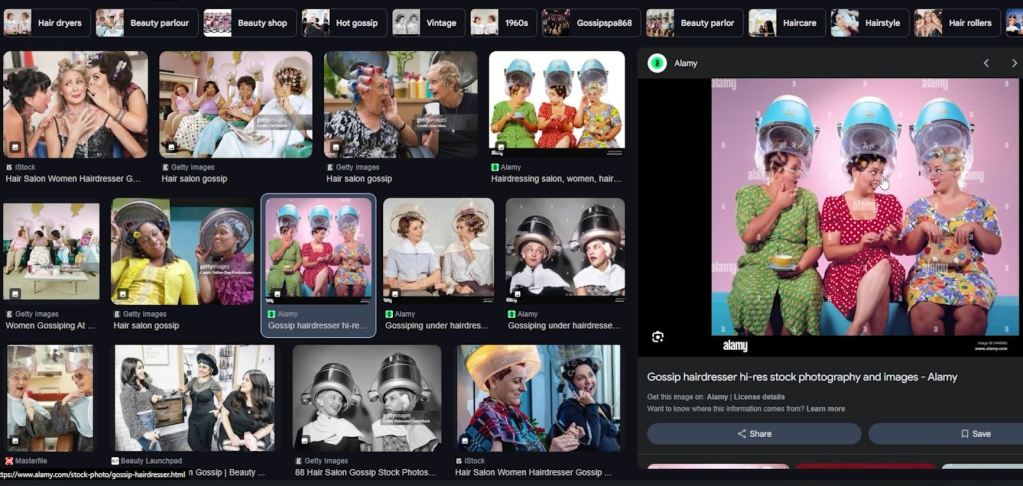
Once I had the core idea, I moved to scripting. I already envisioned the setting—a hair salon—so I grabbed a reference image and fed it into ChatGPT, along with a prompt describing the scenario. In seconds, ChatGPT produced a fully fleshed-out short script, including dialogue and scene progression.
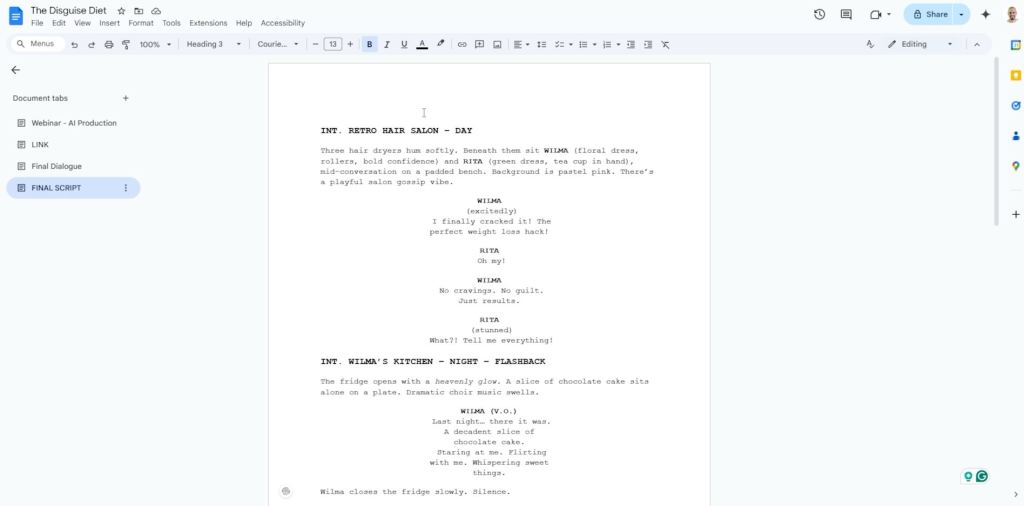
To make production smoother later on, I also asked ChatGPT to add visual descriptions for each line of dialogue—this saved me time during storyboarding. The AI even helped me brainstorm names. I went with Wilma and Rita, names that were easy to remember and fit the light-hearted, retro vibe I wanted.
Step 3: The Storyboard
Storyboarding is where the animation starts to take shape. Using ChatGPT, I designed a detailed storyboard plan structured like a spreadsheet: character actions, dialogue, shot types, camera angles, and framing. ChatGPT helped fill out this framework based on my script, which I then organized in Google Sheets for easy reference. This process is speedy, and it helps us to create the storyboard way faster than before.
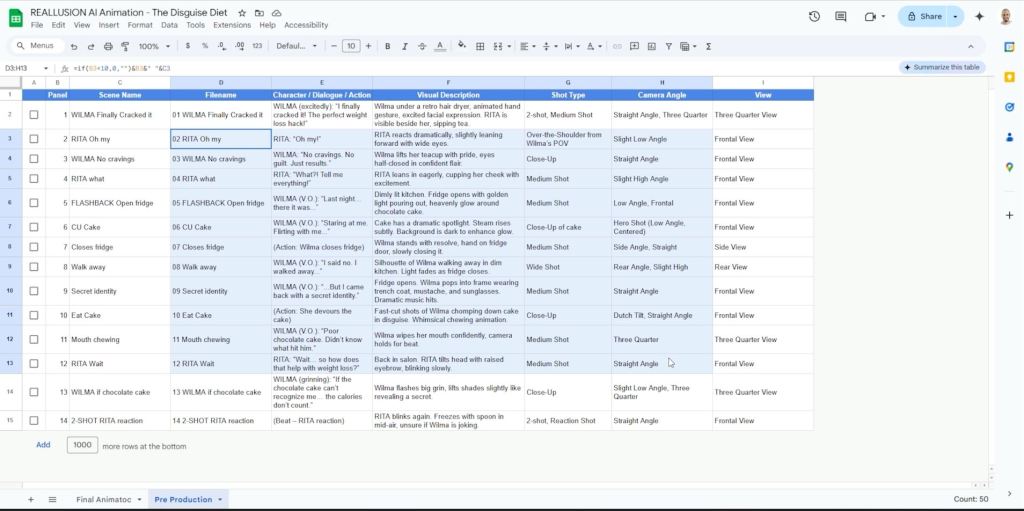

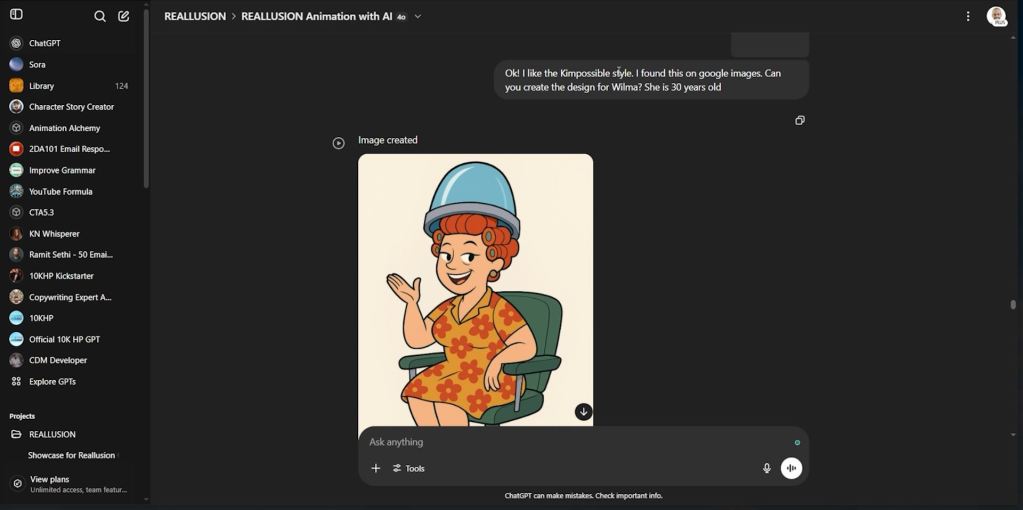
When it came to visualizing panels, I decided on a drawing style inspired by Kim Possible—simple but expressive. With AI’s help, I generated consistent character designs across all panels. Big tip for you: to ensure high quality, I upscaled each image using GigaPixel, so I could zoom and crop without losing detail. This gave me the flexibility to plan shots creatively while keeping visuals sharp.
Step 4: The Animatic
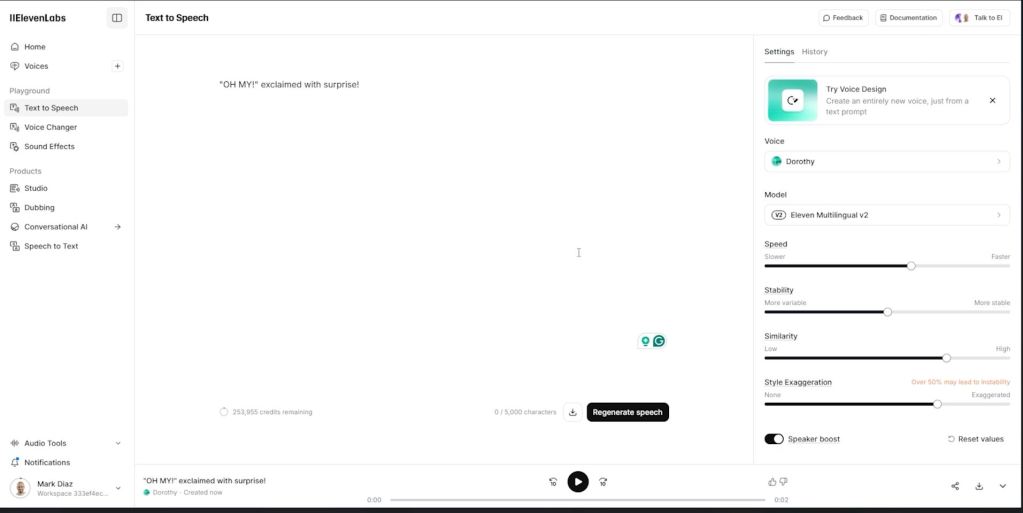
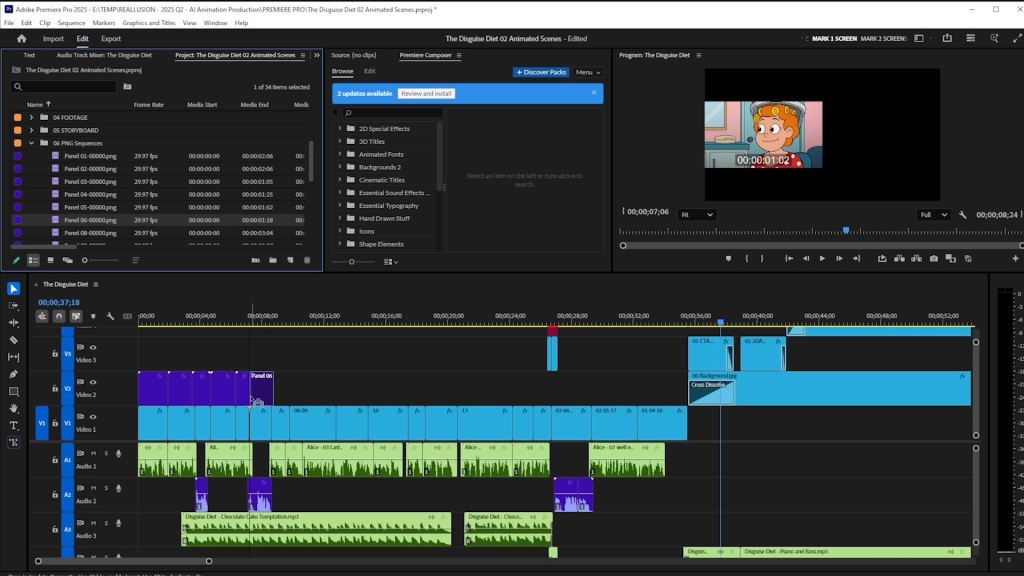
The animatic is the rough cut of the animation, where you can see me putting all the puzzles together. With the storyboard in place, I moved on to creating an animatic—a rough sequence that combines images, dialogue, and music to test the pacing and mood. I generated the voiceovers with ElevenLabs, trying out different voices until I found tones that matched the personalities of Wilma and Rita.

For music, I turned to Suno AI. I recorded myself humming a tune, and Suno transformed it into a full instrumental track—fast and surprisingly good! I also generated a second track purely from text prompts. Laying everything out in Premiere Pro, I aligned the dialogue, music, and storyboard panels into a fully-timed draft that gave me confidence to proceed.
Step 5: Production
To start, I prepared the assets, drawing custom mouths and eyes in Photoshop for better expression and lip sync. I extracted clean characters, backgrounds, and key props, focusing effort where it mattered most—like the hair salon scenes.
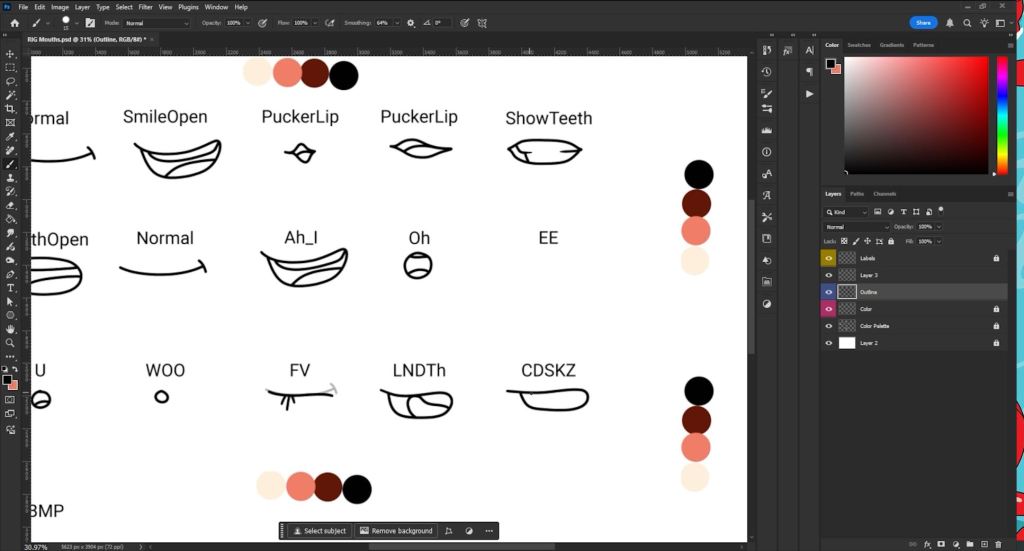
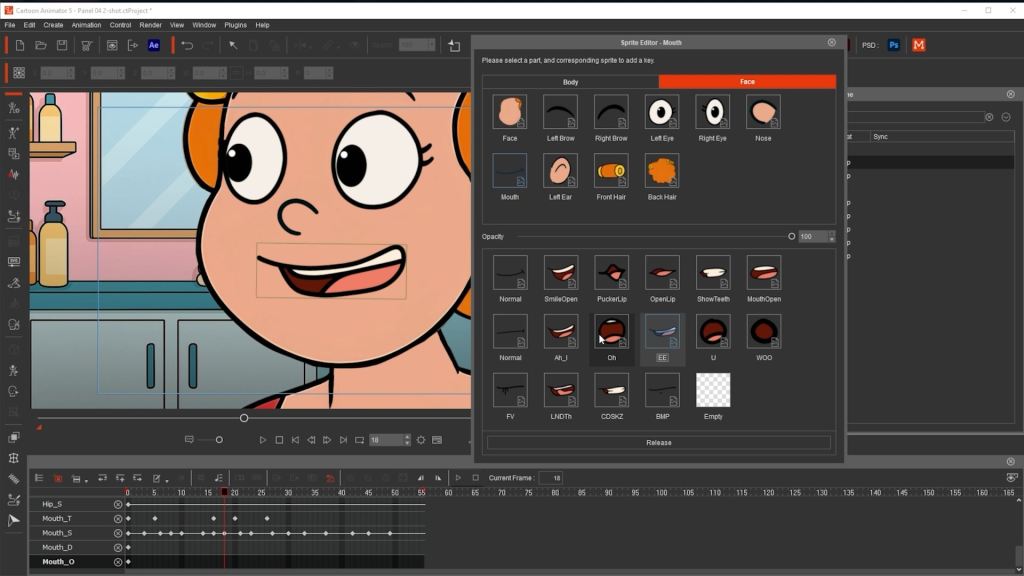
Next came asset preparation. While I experimented with AI-generated eyes and mouths, I quickly realized they lacked the consistency and expressiveness needed for proper lip sync. So, I manually created these in Photoshop, drawing multiple mouth shapes for dialogue and expressive eye poses for key moments.
I extracted clean character layers, isolated props (like the fridge door), and kept backgrounds on separate layers. I focused most detail on the hair salon scenes, where character expressions were critical, while simplifying backgrounds and props in other scenes to save time.
Step 6: The Rigging
With the assets ready, I moved into Cartoon Animator 5 for rigging. Thanks to clean PSD layers and using Reallusion’s Photoshop template, rigging was smooth. I rigged both Wilma and Rita for full facial and body control, and created functional props, like the fridge door that could open and close easily.
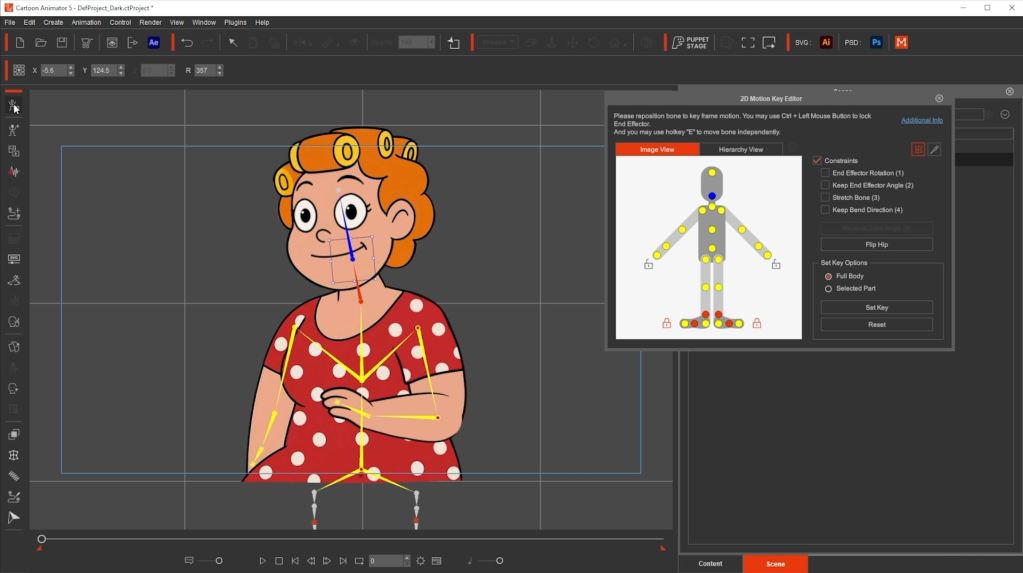
For simpler scenes, I skipped complex rigs—sometimes a character or object was treated as a prop with swappable parts. This kept the setup lean and focused on what was actually needed for the camera.

Step 7: The Animation
Here’s where the magic happens! I created one Cartoon Animator 5 project file for each storyboard panel—18 in total—so that I could work efficiently and avoid bloated project files. I exported individual audio clips for each panel from Premiere, brought them into CA5, and started animating.

The earlier rigging and prep work paid off—I could reuse assets, duplicate similar panels, and just tweak them as needed. For example, panels featuring Wilma in similar poses were duplicated and adjusted rather than animated from scratch. This approach saved hours while maintaining high quality.

Step 8: Putting it all together
Once all panels were animated and rendered, I returned to Premiere Pro, swapping out the storyboard panels for the finished animation. It was a simple matter of clicking and dragging. The result: a polished 30-second short with clear storytelling, smooth animation, and engaging audio.
The result? A fast, pro-quality animation created in days—not weeks. This pipeline lets you combine AI and Cartoon Animator for client projects, contests, or just for fun, delivering top-tier results at record speed. Make sure you try it yourself, and have fun with it!
Related Posts
- Transforming Webtoon Comics into Animated Stories with Cartoon Animator
- Mastering 8 Key Animation Skills, A Minute at A Time
- Easily Turn Yourself into an Animated Livestream Host